5 Ways Proper Trenching Solves Persistent Yard Drainage Issues

Durham Hardscapes • August 11, 2026

Standing water in your backyard ruins the grass and makes it impossible to enjoy your property during wetter months. Many homeowners assume the ground will naturally absorb the excess moisture over time. The professionals at Durham Hardscapes know that ignoring pooling water often leads to muddy lawns and costly foundational issues for the home. Implementing effective yard drainage solutions is the only reliable way to protect your property and keep the outdoor space functional.


Surface grading alone is rarely enough to handle heavy runoff from roof downspouts or neighboring lots. Moving water away from the problem areas requires digging below the surface and creating dedicated channels for the moisture to escape. Proper trenching combined with subsurface pipes offers a permanent fix for chronically soggy soil. Knowing how to plan and execute these trenches ensures your lawn dries out quickly and stays healthy.


What We Cover


  • Tip #1: Locating the True Source of the Water
  • Tip #2: Calculating the Necessary Trench Depth
  • Tip #3: Selecting the Right Subsurface Pipes
  • Tip #4: Protecting the System from Silt Buildup
  • Tip #5: Integrating Trenching with Final Grading
  • Frequently Asked Questions
  • Ready to Fix Your Wet Yard


Tip #1: Locating the True Source of the Water


A successful drainage project always begins by tracking exactly where the excess moisture originates on the property. Digging a trench in the middle of a puddle does nothing if the water is actually flowing down from a higher elevation nearby. You must identify the high points and observe the natural flow during heavy rain.


• Roof Runoff: Downspouts that discharge directly next to the foundation push massive volumes of water into the yard.

• Neighboring Slopes: Water naturally travels downhill and may be entering your property from adjacent lots.

• Compacted Soil: Hard clay prevents absorption and forces water to sit stagnant on the surface for days.


Tip #2: Calculating the Necessary Trench Depth


The depth of the excavation determines how effectively the system captures and moves the sitting water away from your usable space. Shallow trenches fill up too quickly and overflow back onto the lawn when the system faces heavy demand. Contractors look at the local Port Perry soil composition to decide how deep the channel must go to hit a permeable layer.


• Frost Line Considerations: Burying pipes deep enough prevents the captured water from freezing solid during sudden temperature drops.

• Gravity Flow: The trench needs a consistent downward slope to guarantee water actually moves toward the designated exit point.

• Pipe Diameter: The excavation must accommodate both the size of the pipe and the surrounding layers of drainage gravel.


Tip #3: Selecting the Right Subsurface Pipes


Not all pipes function the same way when buried under heavy soil and aggregate. Choosing the wrong material leads to crushed lines or restricted water flow when the ground naturally shifts. You have to match the pipe style to the specific volume of water your yard regularly handles.


• Perforated PVC: Rigid plastic pipes with holes allow surrounding groundwater to enter the channel without collapsing under soil weight.

• Corrugated Plastic: Flexible pipes work well for routing water around existing landscape features but require careful bedding to stay level.

• Solid Catch Basin Lines: Unperforated pipes are necessary when moving water from a collection box entirely off the property.


Tip #4: Protecting the System from Silt Buildup


A brand new trench will fail within a single season if mud and debris are allowed to wash directly into the pipe. The fine dirt clogs the perforations and turns the entire underground system into a solid block of mud. Professional installers use specialized fabrics and stones to filter the water before it ever reaches the drainage line.


• Filter Fabric: Wrapping the entire trench in professional grade geotextile prevents fine silt from mixing with the clean gravel.

• Washed Stone: Using clean aggregate creates void spaces that allow water to drop rapidly into the collection pipe.

• Regular Cleanouts: Installing accessible surface ports gives you a way to flush the system if debris manages to enter.


Tip #5: Integrating Trenching with Final Grading


The underground work only solves half of the problem if the surface soil still traps water in isolated low spots. Once the trenching is backfilled with stone, the surrounding lawn must be shaped to feed water toward the new drains. This final step guarantees the yard actually dries out and remains usable.


• Surface Pitch: Shaping the topsoil slightly toward the hidden trench ensures no water gets left behind on the grass.

• Topsoil Quality: Using sandy loam over the trench area promotes rapid draining instead of trapping moisture at the surface.

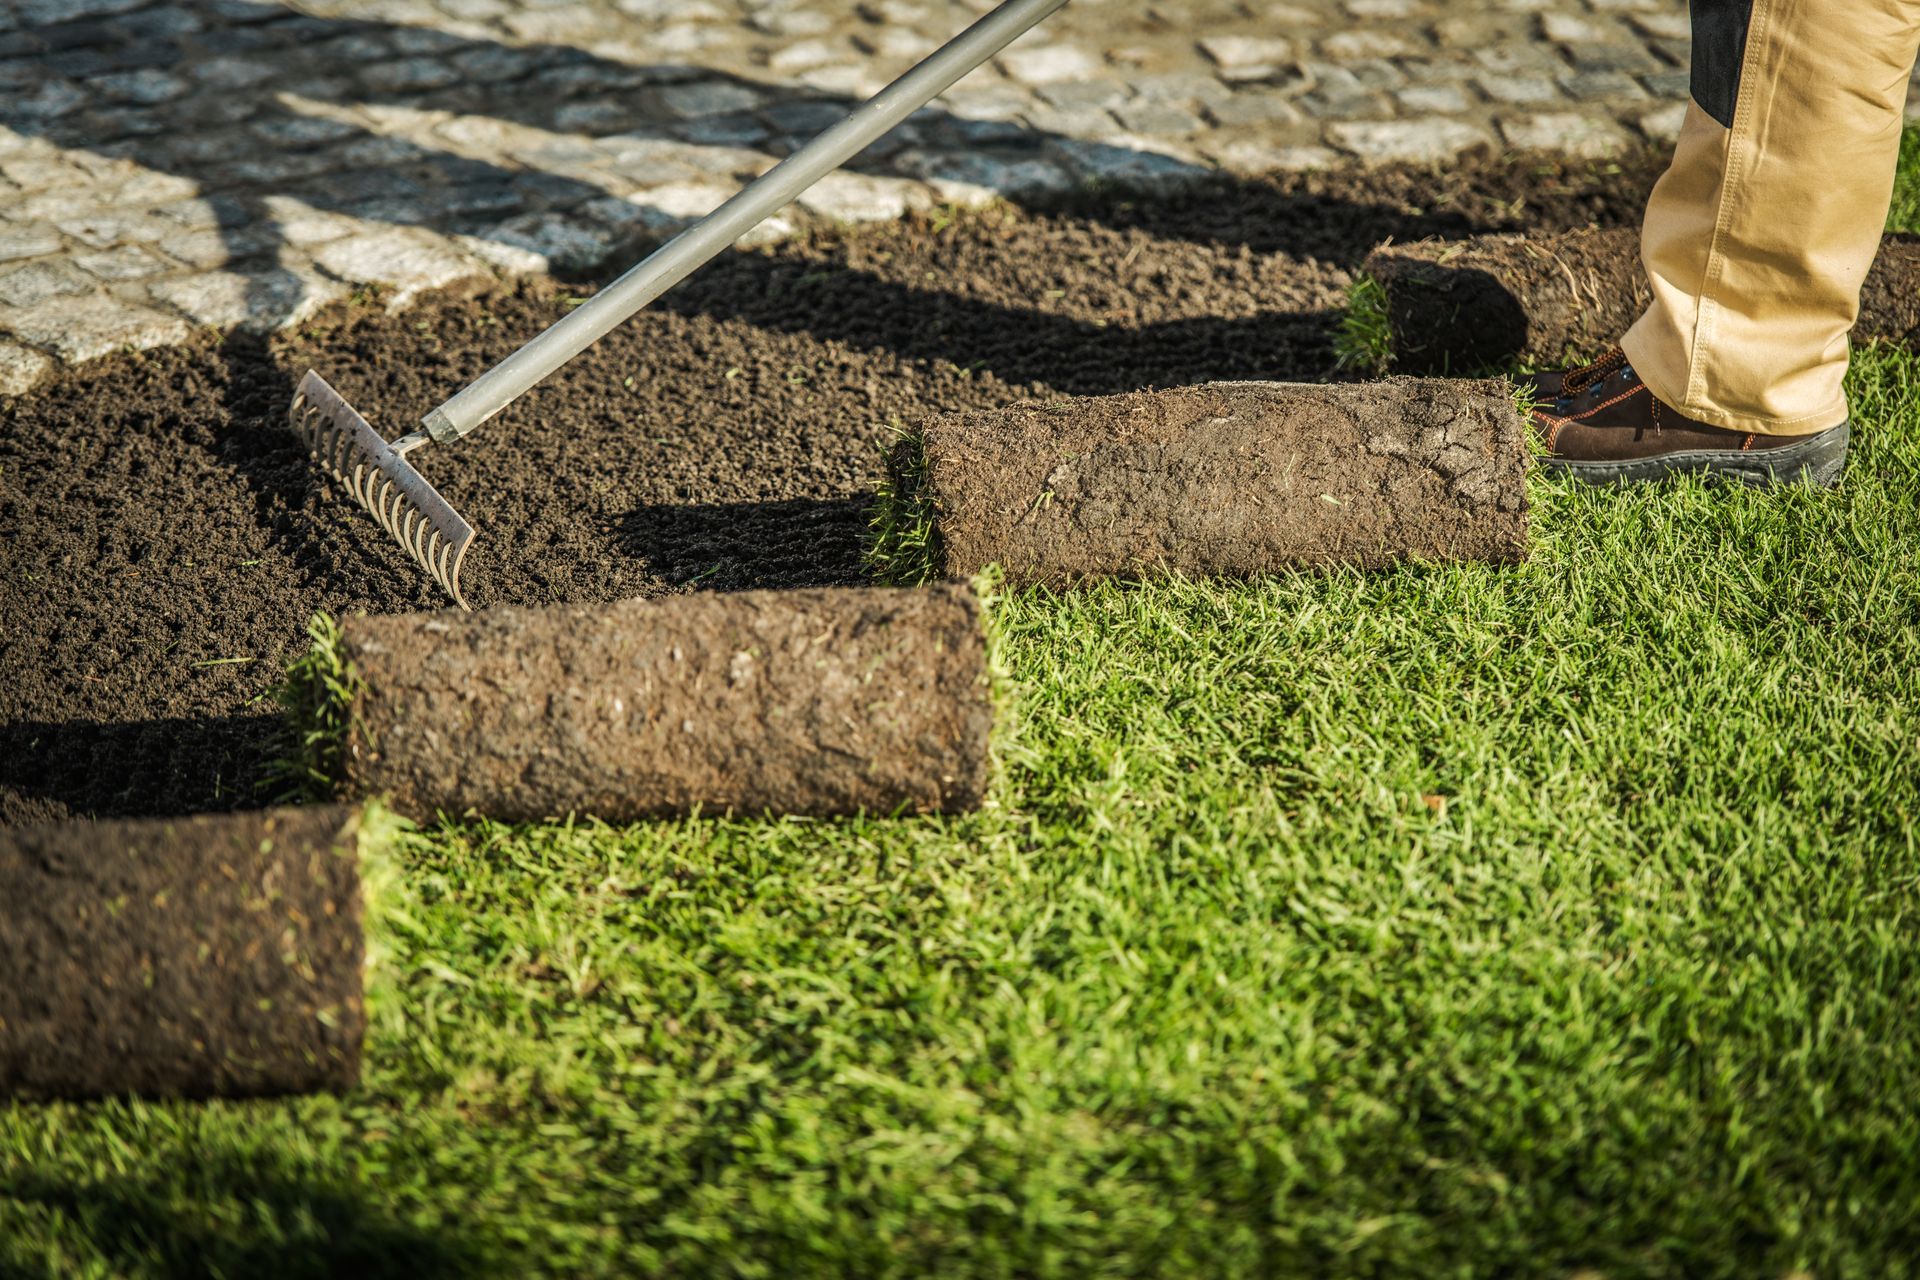
• Sod Installation: Laying fresh grass over the disturbed areas stabilizes the new slope and stops surface erosion immediately.


Frequently Asked Questions


How deep should a drainage trench be?


The required depth depends heavily on the slope of your property and the local frost line. A standard yard channel usually sits eighteen to twenty-four inches below the surface to accommodate the pipe and necessary gravel bedding. Digging below the topsoil layer ensures the system captures groundwater rather than just surface runoff.


What materials work best for yard drainage?


Rigid PVC pipe paired with washed drainage gravel provides the most reliable long term performance for heavy water flow. The rigid pipe resists crushing under the weight of wet soil while the washed stone prevents fine dirt from packing tightly around the intake holes. Wrapping the entire gravel bed in non-woven filter fabric is essential to keep the system flowing freely.


Can grading alone fix my standing water issues?


Reshaping the surface soil works well for directing water away from your foundation but rarely solves deep pooling issues in flat yards. Heavy clay soils will hold water regardless of the surface pitch if there is nowhere for the moisture to physically drain. Combining proper surface slopes with underground trenching guarantees the water is permanently removed from the usable lawn space.


Ready to Fix Your Wet Yard


Understanding how water moves below the surface is the key to finally solving those persistent puddles ruining your grass. The right combination of deep excavation and quality pipe materials will protect your home and reclaim your outdoor living space. You no longer have to wait days for the lawn to dry out before enjoying your property. Contact a local grading and drainage professional to evaluate your yard and plan a permanent fix today.


Share This Blog
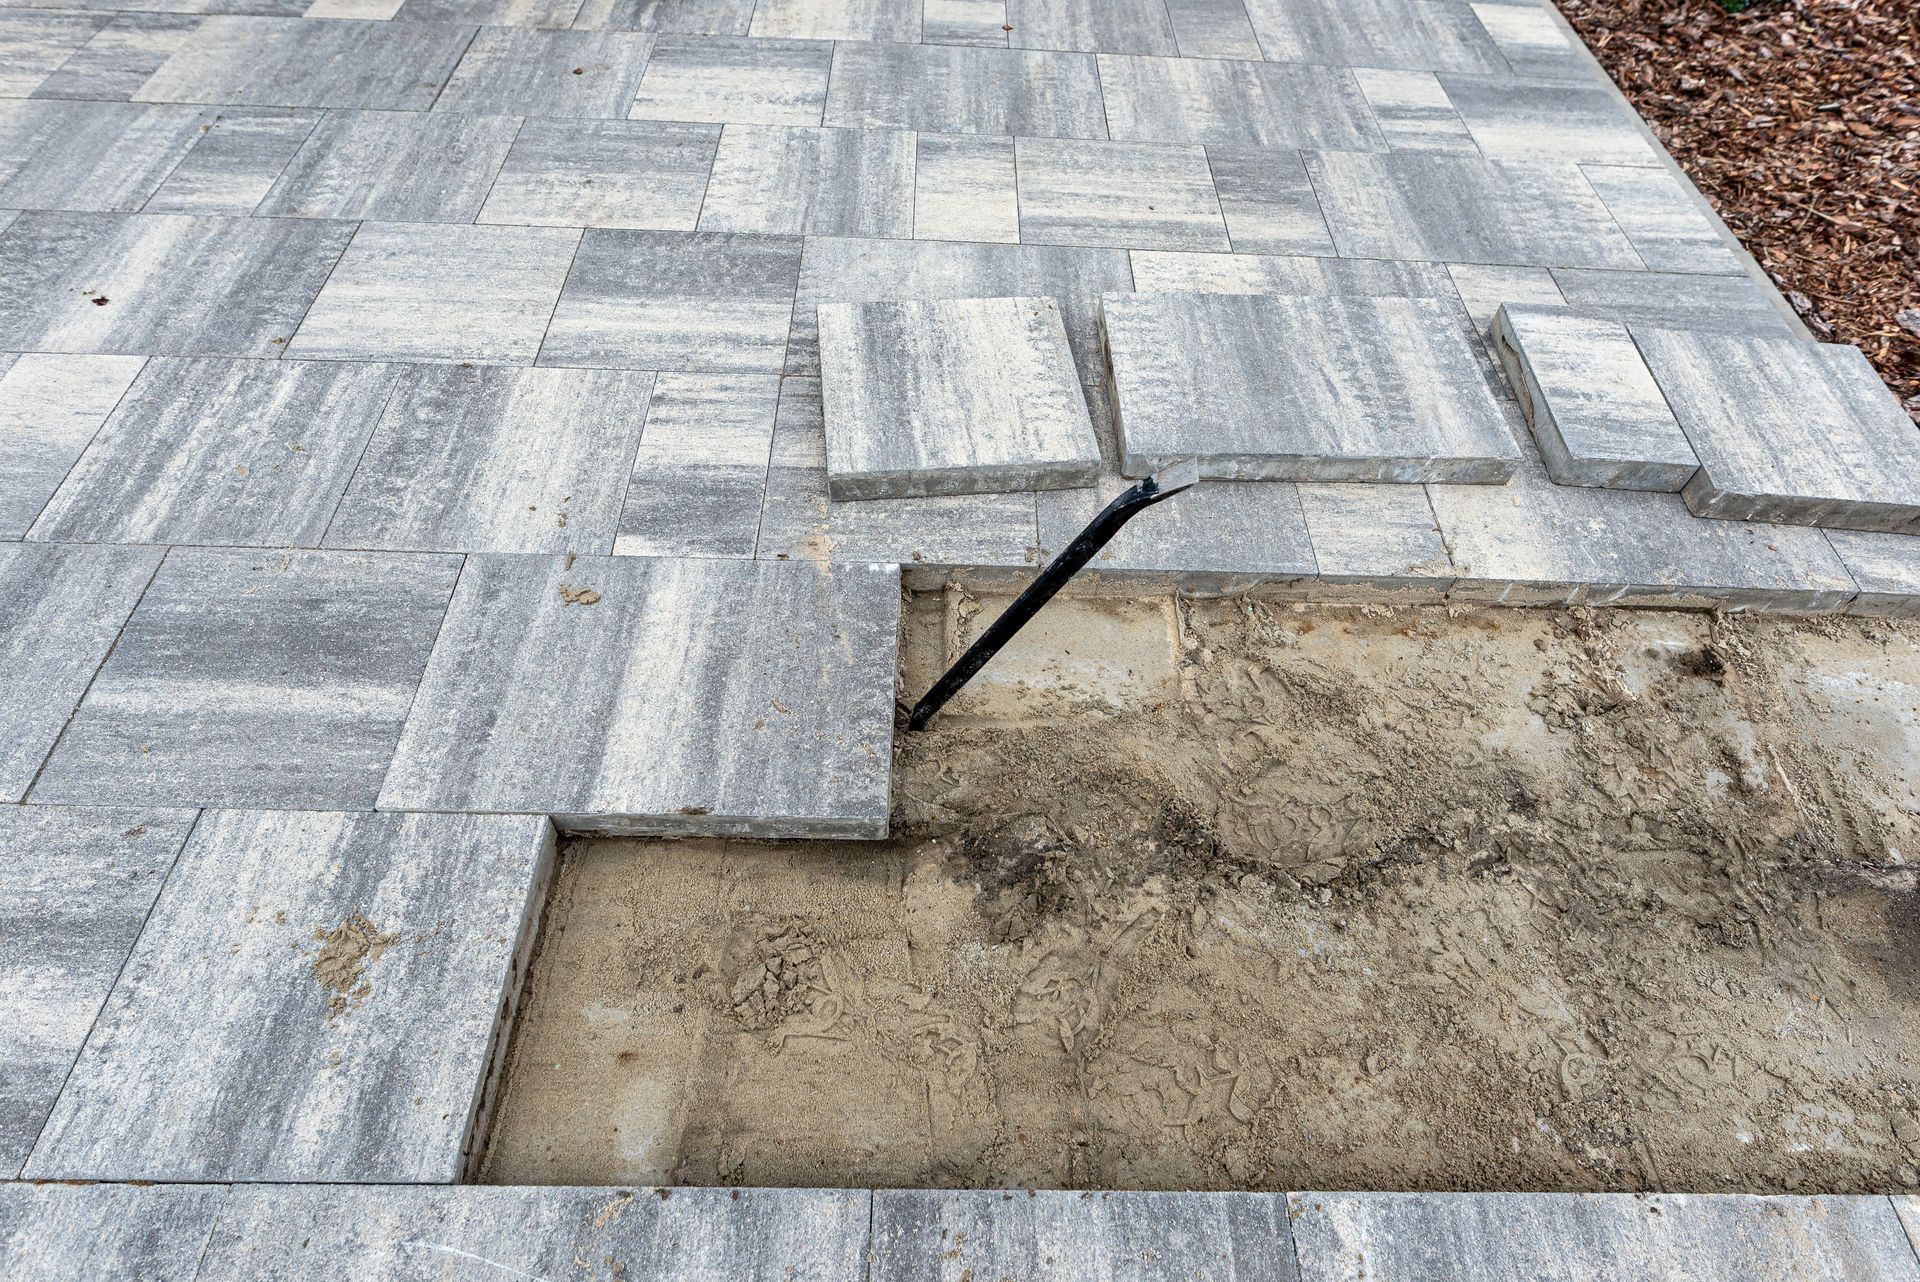
Partially installed gray brick paver walkway with an exposed dirt patch and lifted edging strip
By Durham Hardscapes August 5, 2026
Is your uneven patio a tripping hazard? Discover why base failure causes pavers to sink and how to permanently repair your hardscape before Labour Day.
By Durham Hardscapes July 29, 2026
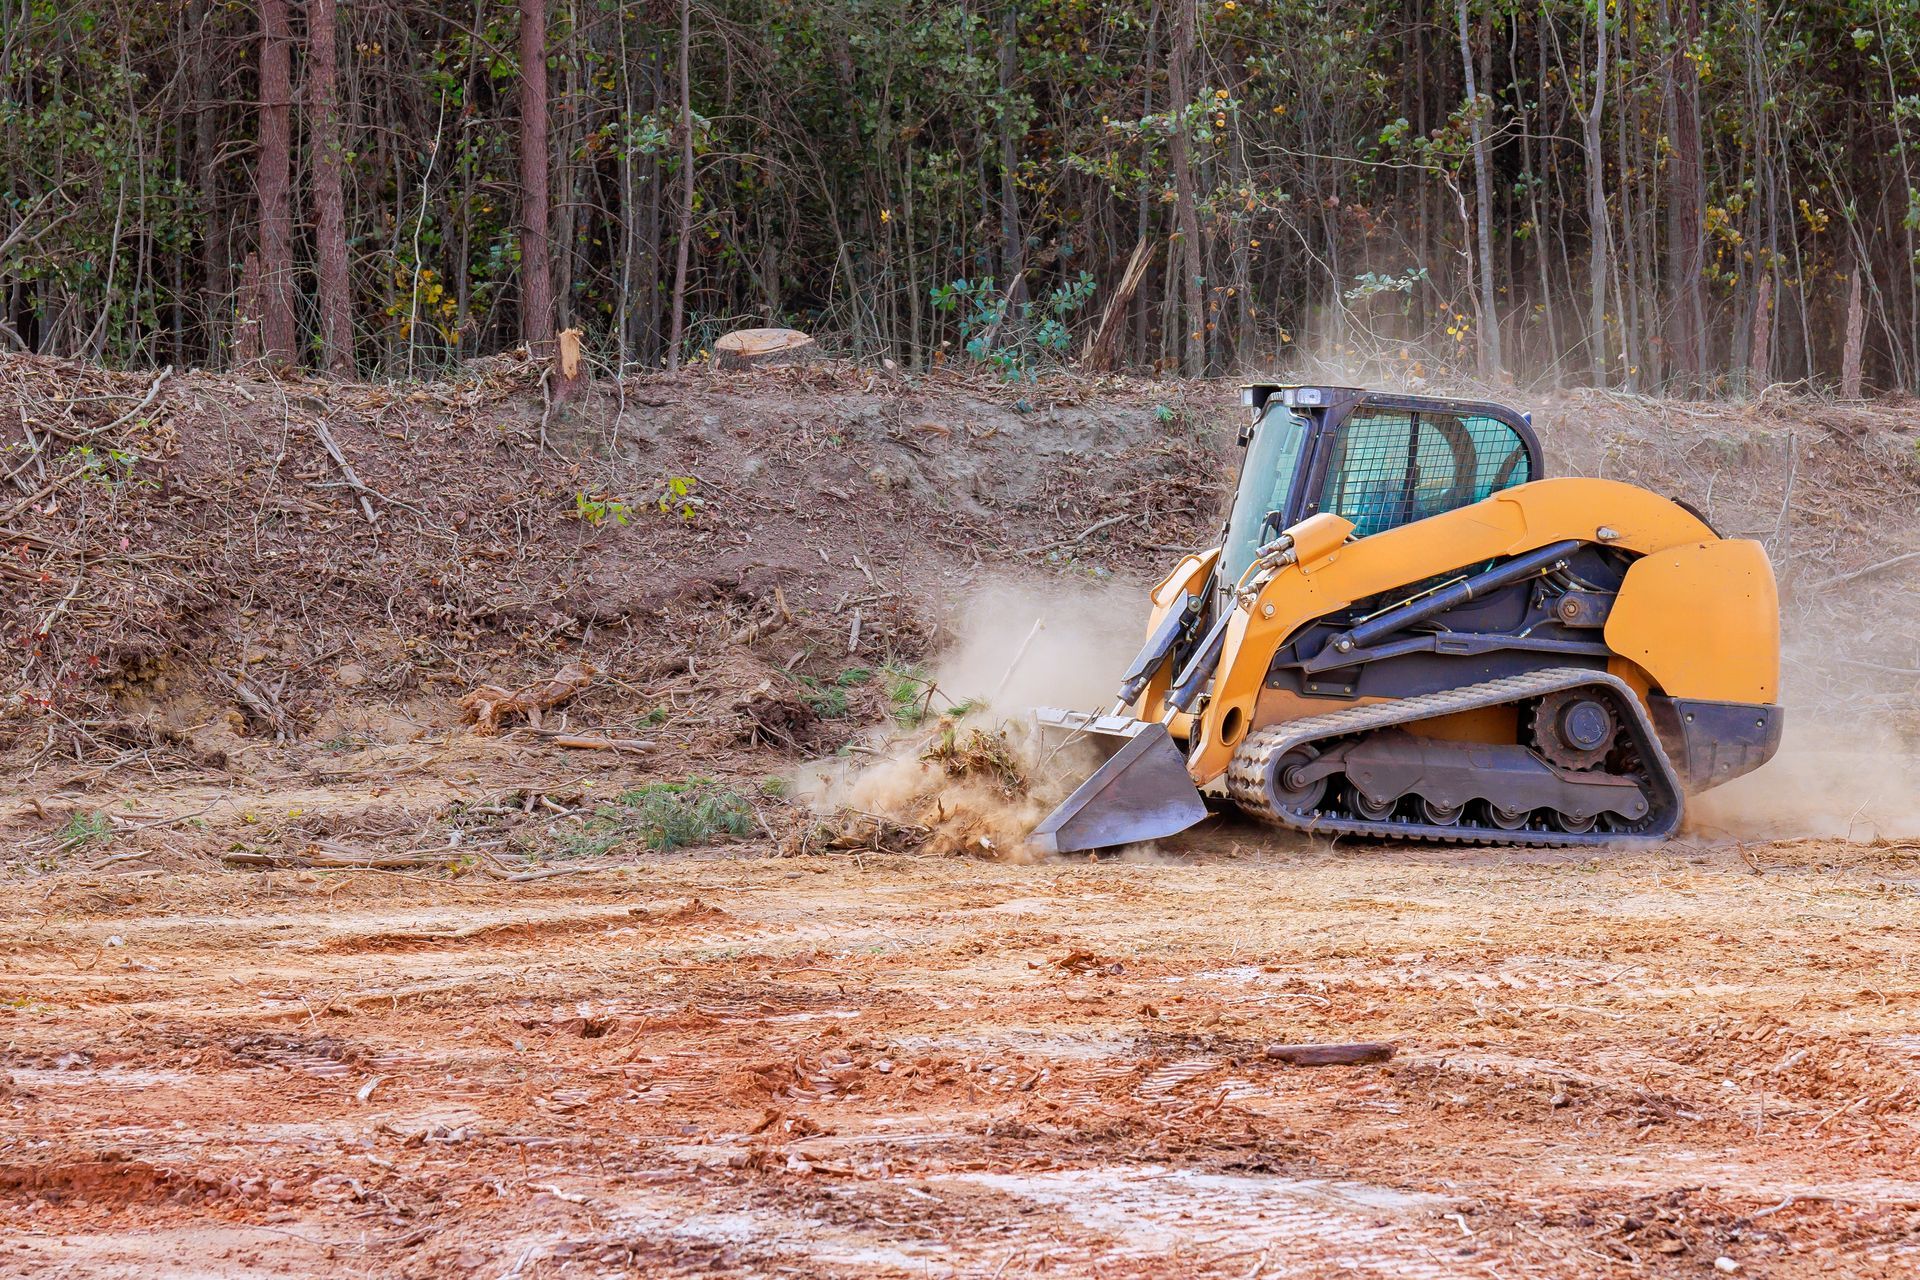
If you’re planning an outdoor transformation in Port Perry, Sunderland, Lindsay, or anywhere across Durham Region, starting with a clean slate is key. Professional land clearing sets the foundation for successful landscaping, hardscaping, or new construction. With summer in full swing and long weekends ahead, now is an ideal time to break ground on your backyard upgrade or property development. But is hiring a professional for land clearing really necessary? Let’s dig into when and why it pays to bring in the experts—especially for residents and businesses in Ontario’s dynamic and growing communities. What Exactly Is Professional Land Clearing? Land clearing is more than just cutting down a few trees or removing brush. It’s a systematic process that prepares your site for construction, landscaping, gardens, patios, or driveways. In the hands of professionals like the Durham Hardscapes team, land clearing involves: Full site assessment for tree, root, and vegetation removal Safe stump grinding and disposal Responsible debris management and recycling Grading and leveling for proper drainage Minimizing environmental impact, protecting natural habitats So, Why Invest in Professional Land Clearing? The temptation to DIY land clearing can be strong, but the risks and complexity often outweigh potential savings. Here’s why: Safety First Land clearing equipment is powerful and potentially dangerous. The Durham Hardscapes crew is fully insured and trained, ensuring both your property and personal safety. Stump removal, in particular, requires specialized knowledge to avoid damaging underground utilities—a common concern in areas like Whitby, Oshawa, and Ajax where infrastructure can be tricky. Preserving Local Ecosystems Our region’s unique flora and fauna deserve thoughtful consideration. Professionals use methods that minimize disruption, protect healthy trees, and follow local regulations for vegetation clearing. Compliance with Local Bylaws Municipalities such as Bowmanville, Courtice, and Port Hope have strict rules about tree removal and grading. Knowing where and how much you can clear isn’t always obvious, but experts keep your project compliant and on track. Preparation for Long-Term Success Proper site preparation prevents headaches down the road—think shifting patios, pooling water, or unstable retaining walls. Clearing land the right way promotes the longevity and durability of your new landscape or hardscape investment. When Is the Best Time to Schedule Land Clearing? One of the most common questions we hear is, “When is the best time for land clearing in Ontario?” While professional teams work year-round, summer is the prime season. Here’s why July is perfect for your next project: The ground is dry and workable, which means less mess and faster progress Holiday weekends like Canada Day allow you to oversee work if desired Clearing in summer means your site is ready for fall planting, hardscaping, or construction Early preparation makes you eligible for scheduling priority with busy local crews Trending Question: Do I Need a Permit for Land Clearing in Durham Region? In many Durham Region municipalities, you will need a permit or to meet specific guidelines before significant tree or vegetation removal. This is especially true for areas near water or environmentally sensitive zones. A professional land clearing service will handle the paperwork and communications with local authorities so you don’t risk fines or delays. Local Benefits: Why Hire Durham Hardscapes? Choosing a locally trusted company like Durham Hardscapes means: In-depth knowledge of local regulations and optimal clearing techniques A commitment to protecting your property value and community environment Transparent pricing and collaborative project planning Support for local hiring and eco-friendly disposal methods  Getting Started If you’re on the fence about investing in professional land clearing, remember that a well-prepped site is the first step toward a worry-free, beautiful outdoor space. Whether you’re looking to install a new patio, start a garden, or build a custom firepit, the groundwork makes all the difference. Ready to break ground on your next project in Port Perry, Sunderland, Lindsay, Bowmanville, or anywhere across Durham Region? Schedule a free, no-obligation consultation with Durham Hardscapes. We’ll walk your site, answer your questions, and help you plan the perfect start for your outdoor transformation—so you can enjoy your space all year long. Visit our website or call today to get on the summer schedule.
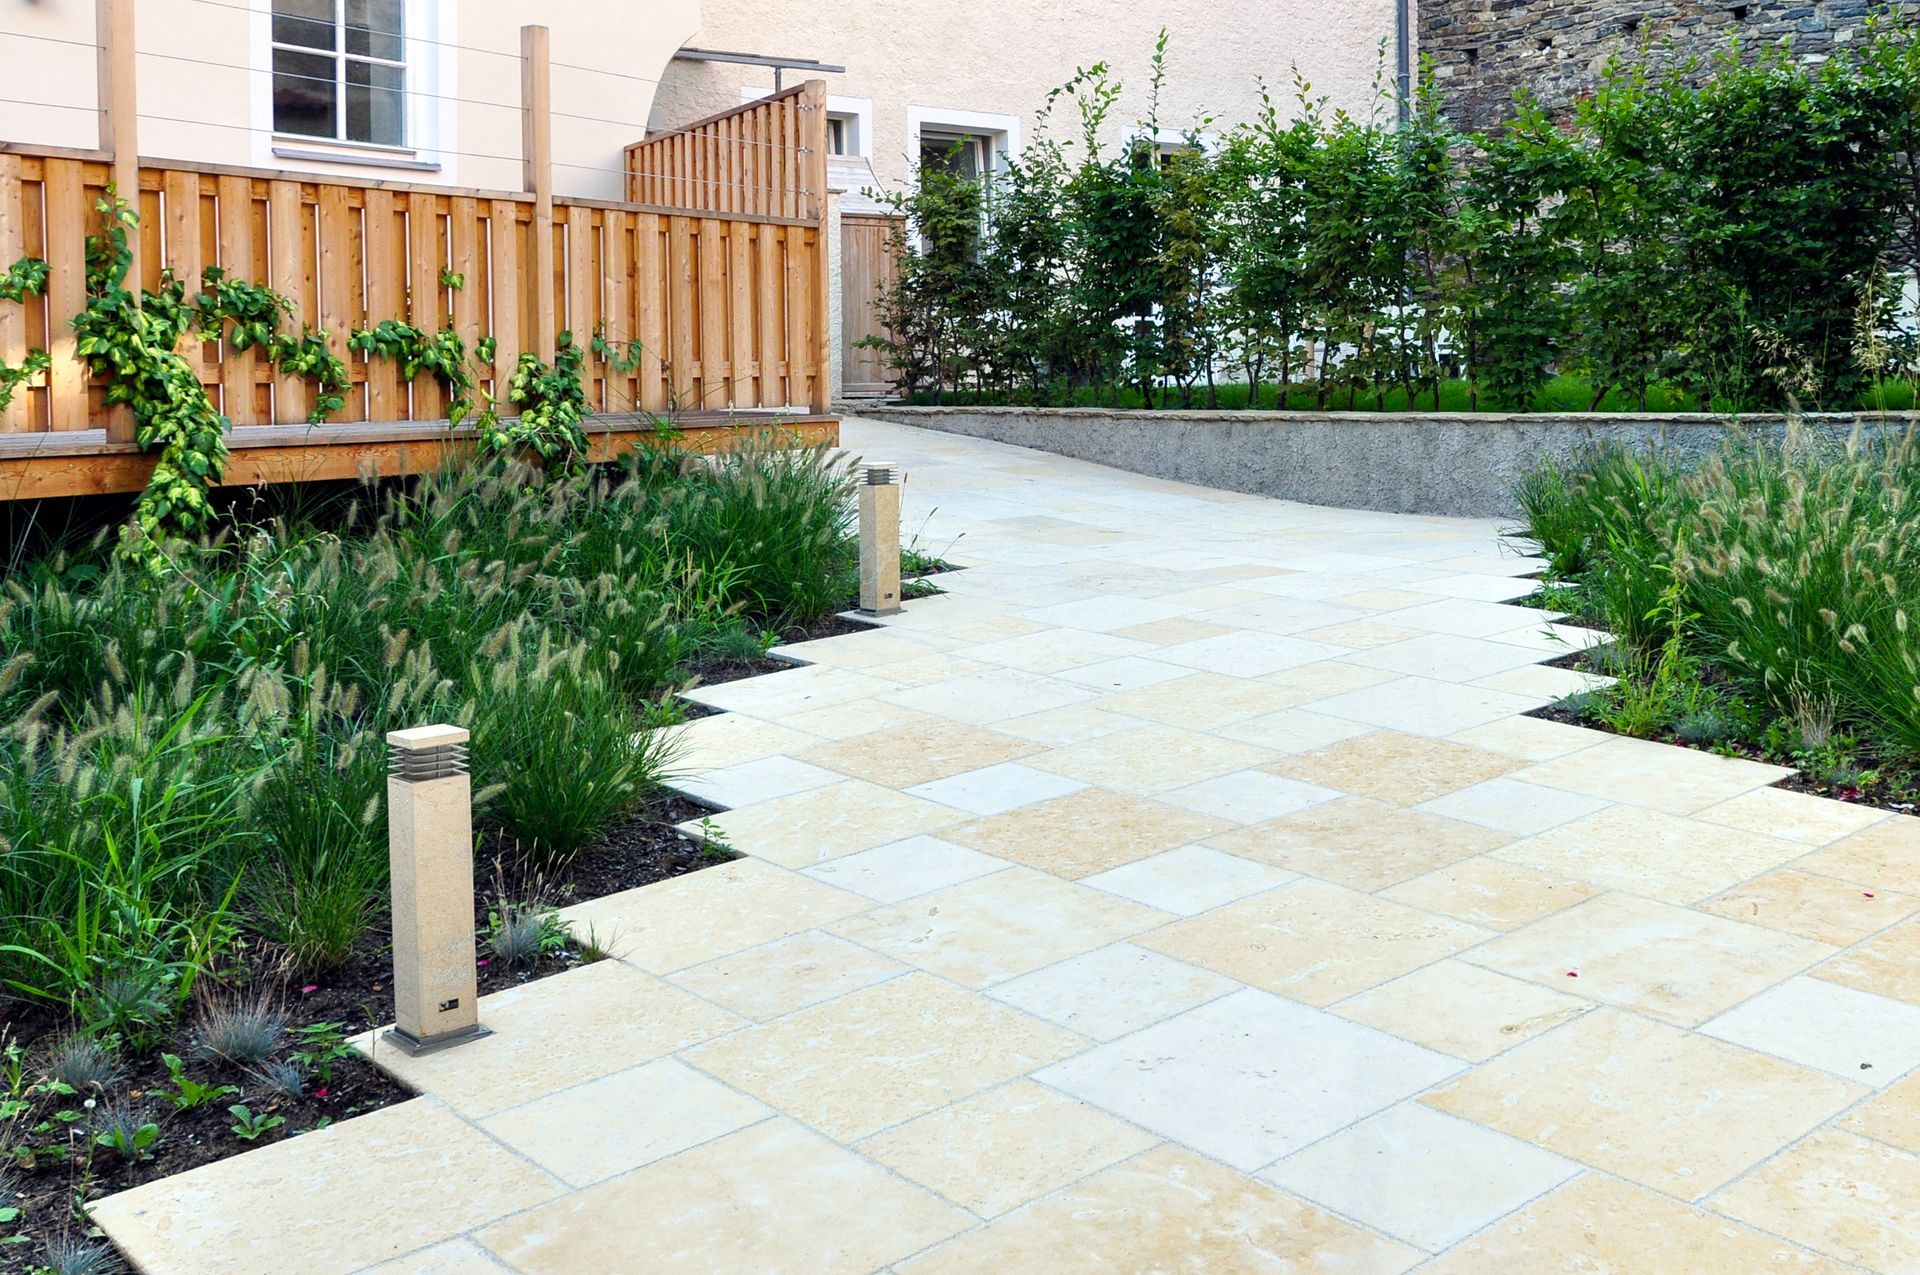
A paved stone walkway winds through a garden with green plants and low, modern light fixtures next to a wooden fence.
By Durham Hardscapes July 21, 2026
Want beautiful outdoor spaces without the upkeep? Discover low-maintenance hardscape ideas for busy Ontario homeowners and boost curb appeal.
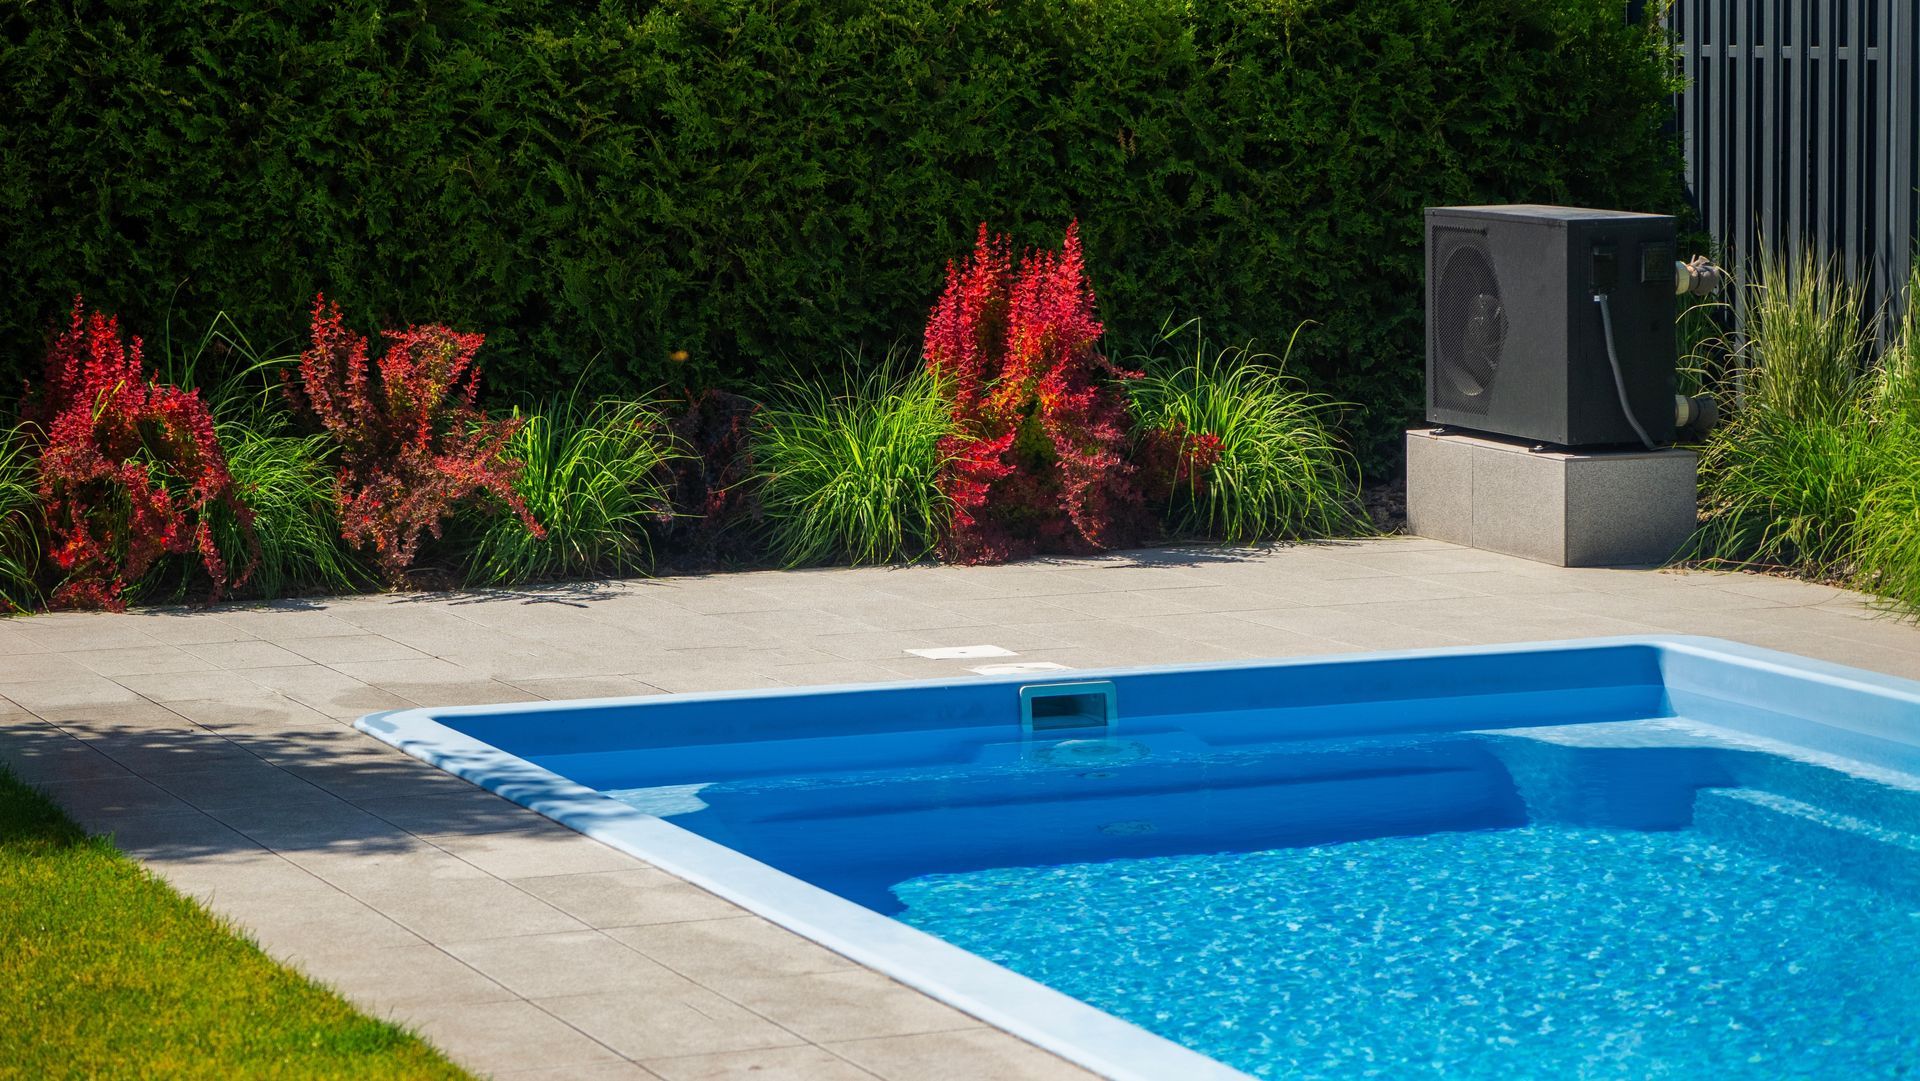
A rectangular backyard swimming pool with blue water, surrounded by concrete decking, green hedges, and a pool heater.
By Durham Hardscapes July 15, 2026
Upgrade your pool area with safe, stylish designs. Review top materials and expert tips for long-lasting, beautiful pool surrounds this summer.
A small barberry shrub with red leaves grows in a rocky garden bed next to a black irrigation pipe.
By Durham Hardscapes July 7, 2026
Maintain a lush yard during Ontario’s hottest months with water-smart landscaping tips. Discover ideas for drought-resistant lawns and gardens.
A brick patio with a dining table under an umbrella and two lounge chairs, surrounded by lush trees and greenery.
By Durham Hardscapes June 23, 2026
Get your backyard party-ready for Canada Day! Discover design ideas for outdoor spaces that make your holiday gatherings unforgettable.
A stone patio with a table and umbrella sits in a green backyard next to a white house with trees in the background.
By Durham Hardscapes June 17, 2026
Beat the heat this summer! Learn how to choose the best shade trees and plants for your Durham garden to keep your landscape cool and beautiful.
A wooden walkway borders a gravel path, separated by a line of smooth stones alongside a bed of small, green plants.
By Durham Hardscapes June 3, 2026
Explore the best hardscape materials for walkways—stone, pavers, or concrete. Compare style, durability, and cost for your next outdoor project.
An outdoor kitchen island with a built-in stainless steel grill and mini fridge, set on a patio against a wooded backdrop.
By Durham Hardscapes June 3, 2026
Upgrade your backyard for summer with trending Ontario outdoor kitchen and patio designs. See inspiring ideas for entertaining and relaxation.
A gravel drainage strip with metal grates along a wooden-sided building, bordered by a dense green hedge.
By Durham Hardscapes May 26, 2026
Keep your yard dry this spring! Discover essential grading and drainage solutions to protect your property from heavy rainfall and flooding.